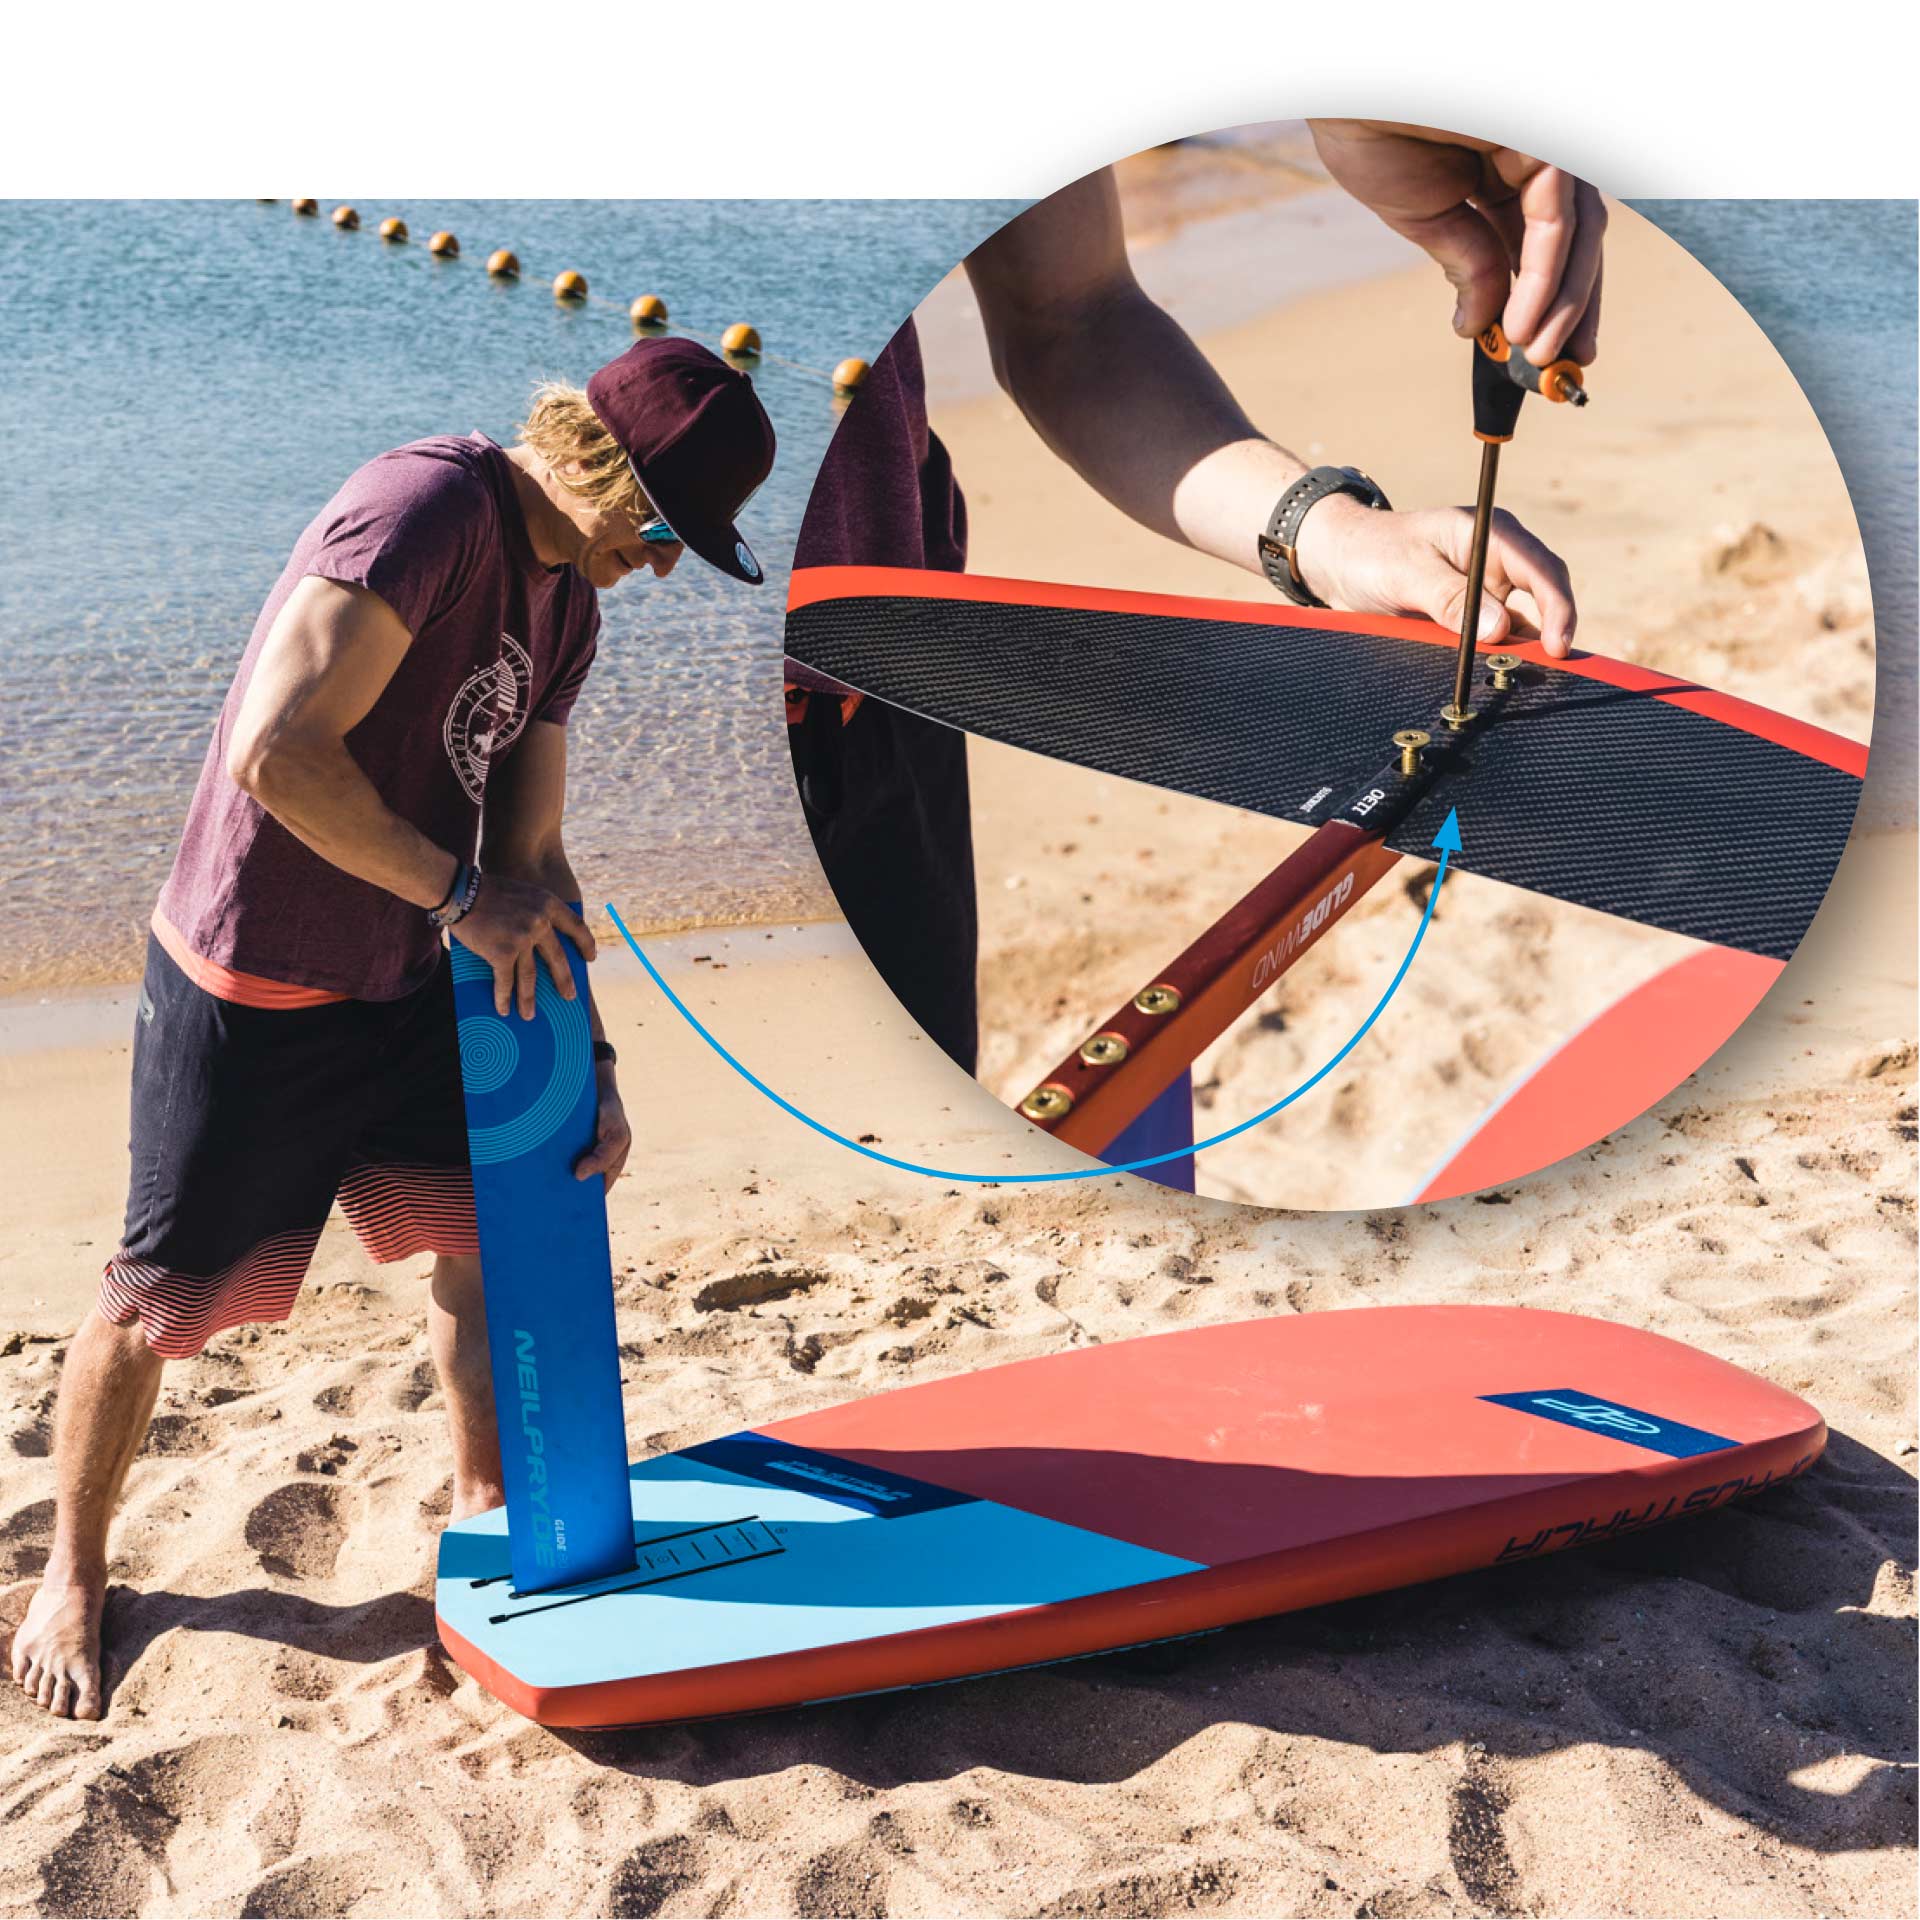
Attach the base to the mast.
Resist your impulse to assemble the whole foil right away because it is much easier to fix only the mast to the board first. The front screw is the more important one as it has to resist all tensile forces and therefore has to be long!

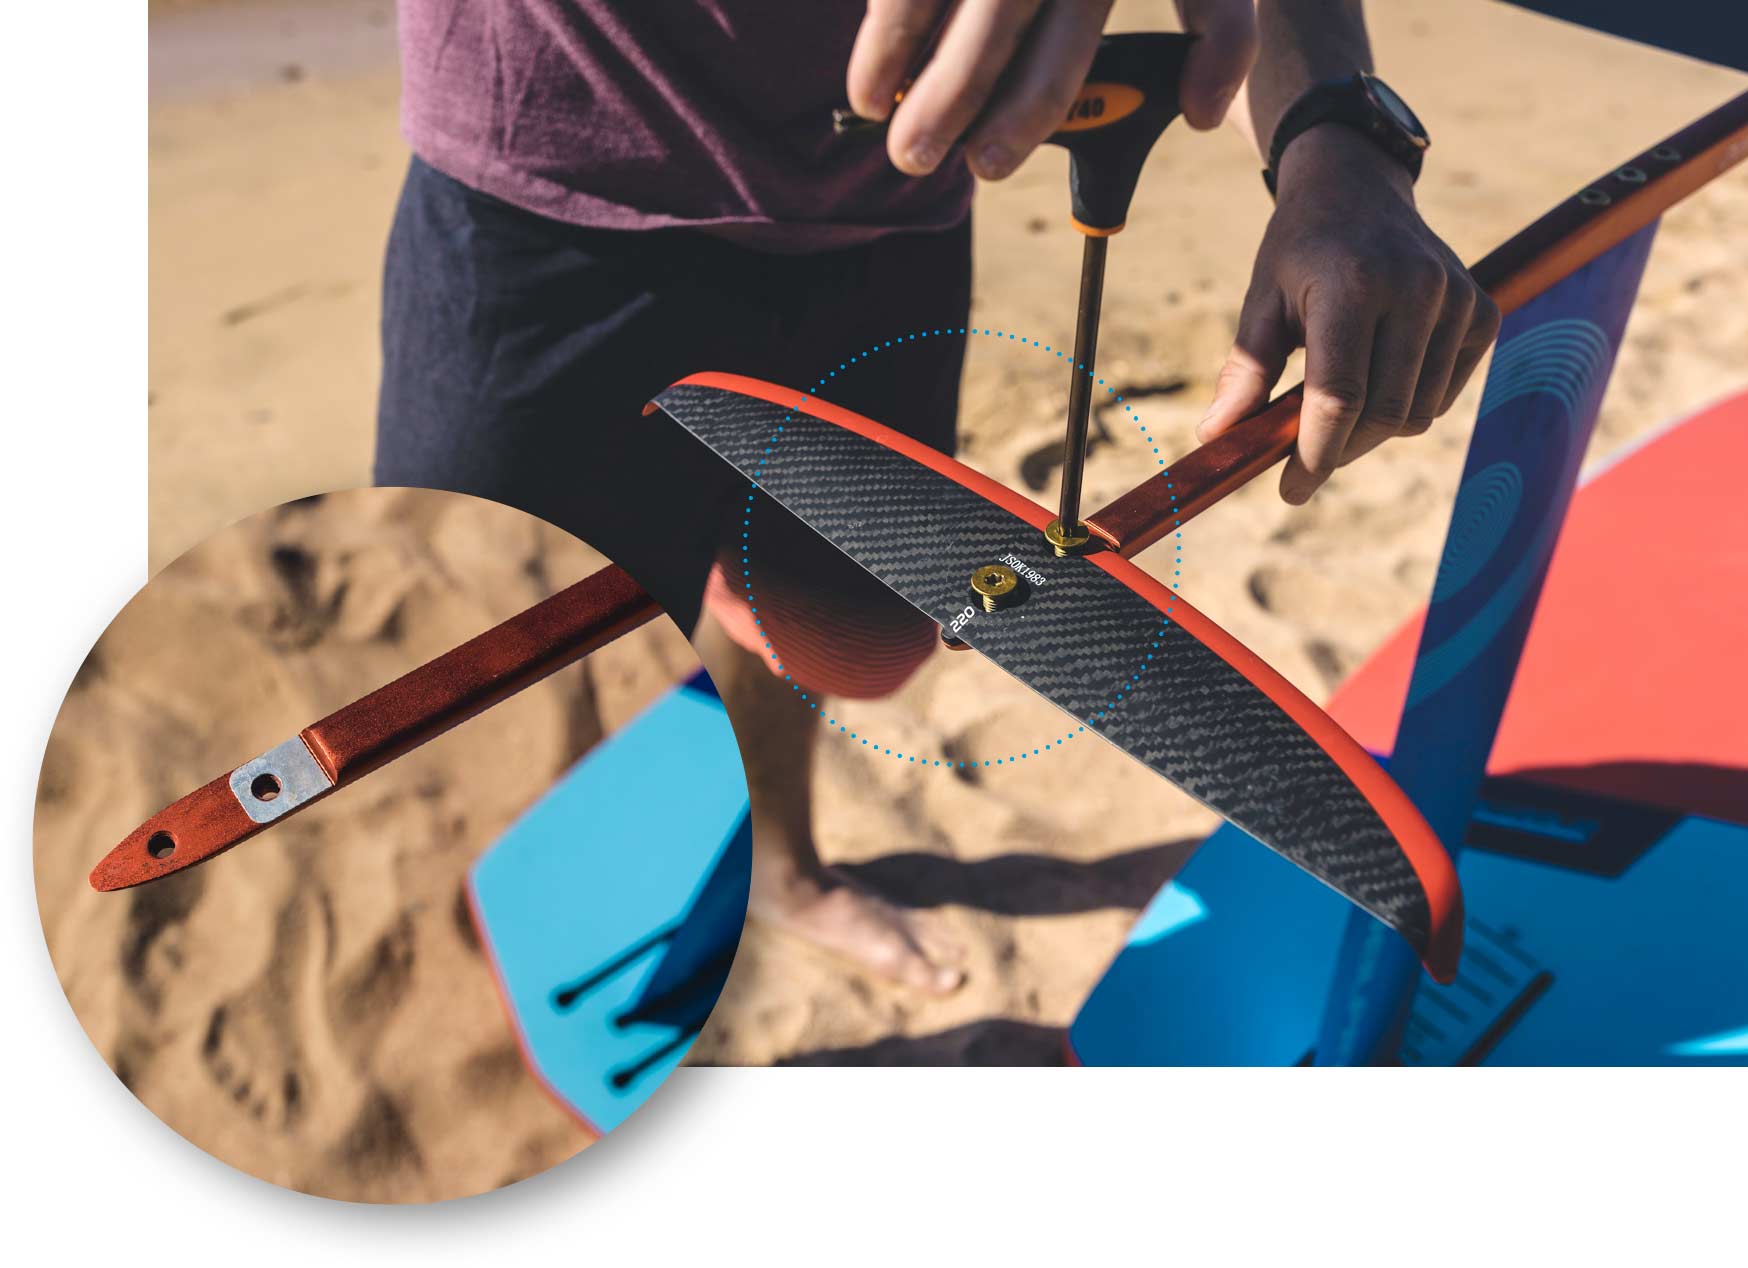
The next step is to mount the fuselage to the mast – comfortably at waist height – and afterwards the wings to the fuselage.

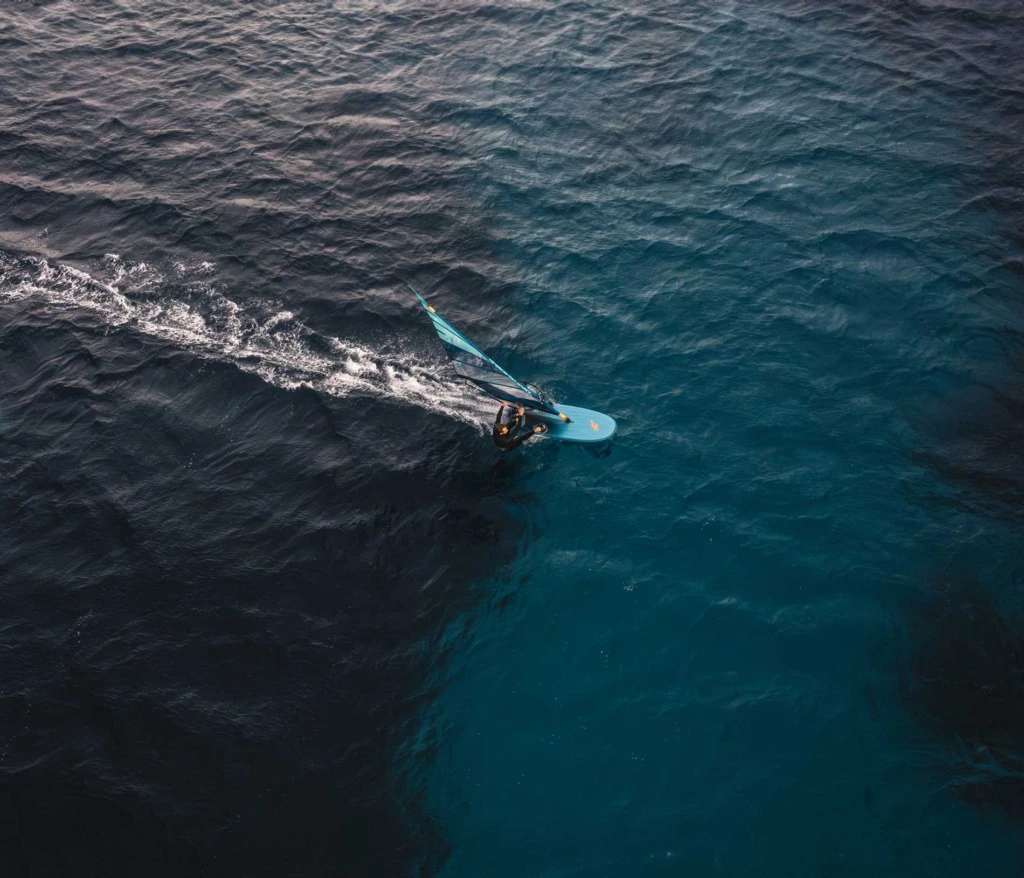
After finishing up, a hefty push forward/ down of the foil mast will show you if the foil is already deep enough in the box. Tighten the screws if necessary.

Tip:
Loosening the screws can be challenging and sometimes is impossible especially when the foil was used in saltwater and mounted on the board for a long time.
To avoid this,
we highly recommend to

  • treat the screws with grease or copper paste before assembly to prevent erosion
  • loosen the screws a little after water action
  • repeat this procedure with every session.

Common mistake: The angle of the wing should not be adjusted to the rider’s weight. Only the wing size should follow the rider’s weight, meaning the heavier rider requires larger wings to avoid stalling and to start planning as early as the lighter rider.

Angle the tail wing to adjust the lift of the foil.

A spacer at the front screw of the tail wing increases the lift.

A spacer at the rear screw of the tail wing reduces the lift.

The 2nd spacer coming with GLIDE foil will reinforce the desired effect.

The amount of lift a rider individually needs depends on:

  • the size of the board
  • the foot strap positions and
  • the sail size

Example: When swapping to a larger sail, add a spacer at the front screw to even out the higher weight and downforce of the bigger sail.